A proper internet connection for your cobot is required to take advantage of the Beacon. This steps walks you through that process.
This steps walks you through installing the URCap on your cobot. In the event that you need to remove the URCap, we walk you through that process here too.
Before we get started, it's important you your cobot meets the minimum Polyscope requirements and you have signed up for access.
You can use this link to download the URCap. When you log into Beacon for the first time, an account will automatically be created for you (based on your email address). Beacon now supports web and mobile, but registering a cobot is done from the Beacon mobile app.
Beacon requires internet access to work. And fortunately, Universal Robots make it really easy to connect your robot to a network. All Universal Robots come with an ethernet port on the robot controller. On a CB-Series, the network port is on the bottom of the control cabinet. On an e-Series, the network port is located inside the control cabinet.
Plug in an ethernet cable to your cobot, with the other end plug into a switch, router, wall plug, or hotspot.
Within Polyscope, go to the installation settings and setup networking. If your networking is properly configured, you will see "✓ Network is connected" as shown below.
![]()
When selecting Static IP networking, be sure to set an IP address, subnet mask, default gateway, and (at least) a preferred DNS server.
![]()
You must have networking enabled to take advantage of Beacon. If your networking setup shows a disabled network (as shown below) refer to the instructions above for configuring DHCP or a static IP address.
![]()
Once the URCap is downloaded, move the downloaded file (the file is named beacon.urcap) to a USB thumb drive. Insert the thumb drive into the USB slot on the top-right (e-Series) or right-side (CB-Series) of the teach pendant.
Navigate the URCaps under System of the installation tab. Click the + and select the URCap file from the thumb drive.
![]()
Once the URCap is installed, you will be prompted to restart your cobot. To confirm that the URCap is properly installed, head back to the URCaps section of the installation screen and verify Hirebotics is listed under the Active URCaps section, as shown below.
![]()
Now that the URCap is installed on your cobot and the URCap is showing a QR code for registration, register your cobot with Beacon.
If you haven't already done so, download the Beacon app from the Apple App Store or Google Play Store.
Cobots are organized under teams in Beacon. Once you've created your first team, you will be able to add a new cobot by navigating to that team, switching to the Robots tab, and tapping the plus action button.
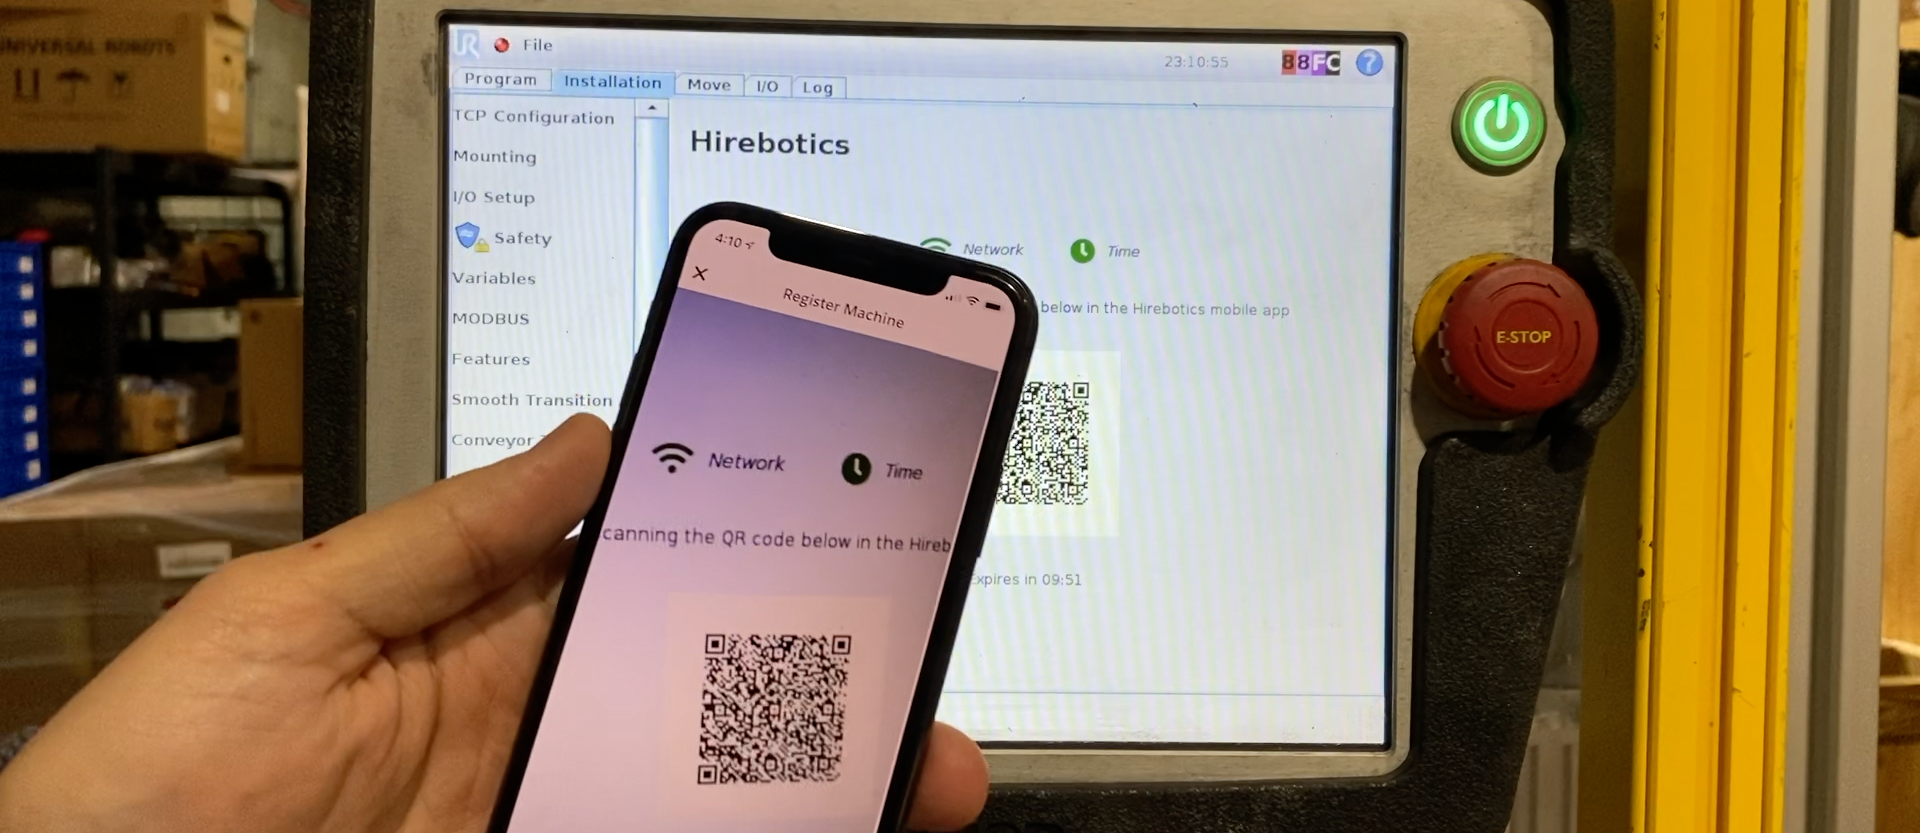
To register your cobot, go to the installation tab of your cobot and select Beacon. Our URCap will check for an existing register, download any updates, and transition to a QR code to be scanned by the mobile app.
![]()
![]()
From the Beacon mobile app, navigate to the team you want this cobot reside, switch to the Robots tab, and click the plus action button to register your cobot.
With your cobot registered, your critical files will begin syncing to the cloud immediately and your cobot home screen in the mobile app will display real-time status of your cobot. It is important to leave your cobot online so that updated log files and program files changes are backed up and versioned. You never know when you'll need to access these critical assets!
Read more about sharing support related files on our blog and be sure to subscribe for regular updates.
Copyright © 2021 Hirebotics. All Rights Reserved.